Scenery Objects Tab (Objects)
The Scenery Objects tab (available in the side toolbar) is one of the primary environments in the editor. It handles browsing, placing, aligning, modifying, and attaching all scenery objects (Sceneryobjects) – from buildings, shelters, and fences to traffic signs, signals, and interactive bus stop displays with dynamic text.
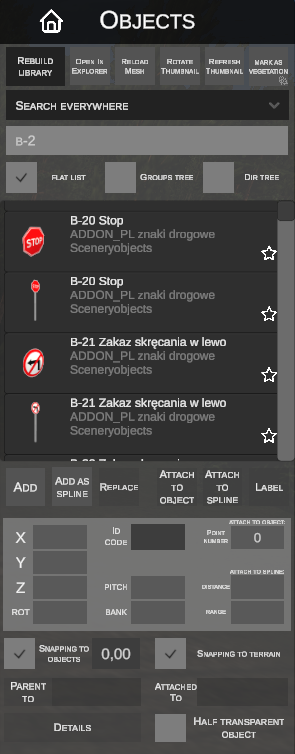
1. Library Toolbar
The top of the side panel features utilities for managing the model library:
| Button | Function |
|---|---|
| REBUILD LIBRARY | Rescans simulator directories and completely rebuilds the cache for all available .sco objects from scratch. |
| OPEN IN EXPLORER | Opens the folder containing the selected object in Windows Explorer. |
| RELOAD MESH | Reloads 3D geometry (.o3d / .x) and textures directly from disk without restarting the editor. |
| ROTATE THUMBNAIL | Rotates the 3D preview thumbnail in the library by 45 degrees for alternate viewing angles. |
| REFRESH THUMBNAIL | Re-renders a fresh preview thumbnail for the selected element. |
| MARK AS VEGETATION | Classifies the model as vegetation (tree/shrub), enabling it to be used within the vegetation placement system. |
2. Search and Browsing Modes
The editor provides a dynamic search system and three alternative library views:
A. Object Search
- Search Scope: Dropdown allows filtering where queries are matched:
Path– searches file path strings only,Name– searches object names,Everywhere– searches all metadata (paths, names,.scogroups).
B. Library View Modes
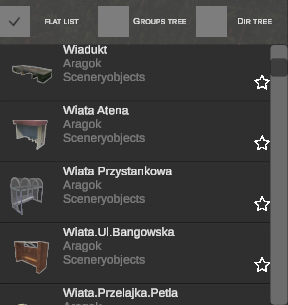
Displays all objects in a flat scrollable grid with large thumbnails, object names, authors/folders, and favorite star toggles.
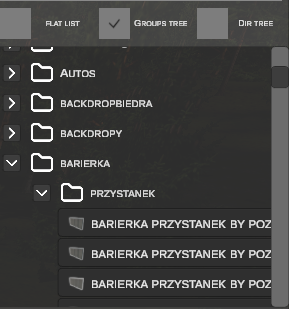
Organizes objects into hierarchical folders based on categories/groups defined inside .sco files.
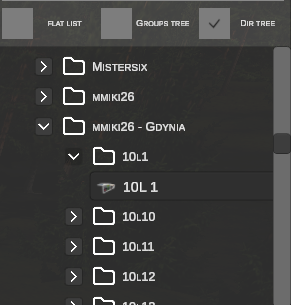
Mirrors the physical folder structure on disk within Sceneryobjects and Vehicles.
C. Large 3D Preview (Big Thumbnail)
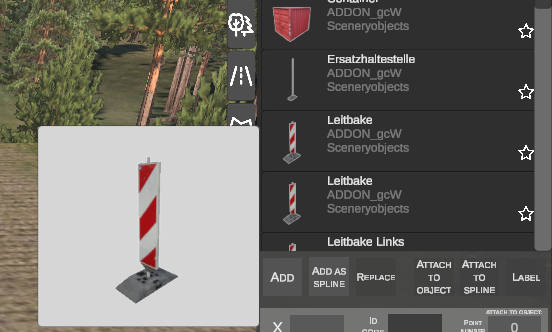
Clicking LMB on a thumbnail in the library opens an enlarged interactive 3D preview window.
3. Favorites System (Favourites)
A categorized favorites system allows instant access to frequently used assets:
- Adding to Favorites: Click the star icon
 next to any object in the library, or drag & drop the object directly onto the quick access bar.
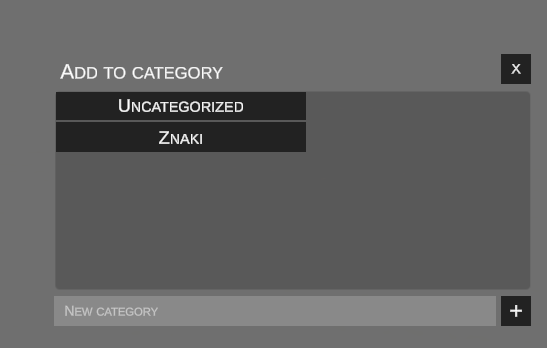
 - Choosing or Creating a Category: Clicking the star icon opens a dialog. Select an existing category (e.g., Signs, Barriers, Shelters) or enter a new name and click
+.
- Quick Access Shelf: Favorite items appear on the horizontal bar across the bottom of the screen with visual thumbnails:

- Category Management / Editing: Right-click on any object in the quick access bar to open the management dialog:
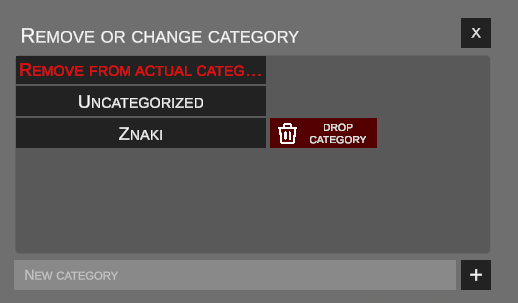
REMOVE FROM ACTUAL CATEGORY...– removes the object from the active category.DROP CATEGORY(red trash can) – deletes the entire category.BLACK CATEGORY NAME BUTTON– reassigns the object to another category.
4. Selecting and Manipulating Objects
A. Object Selection
- Single Object: Click LMB on the object. The selected object highlights in red:
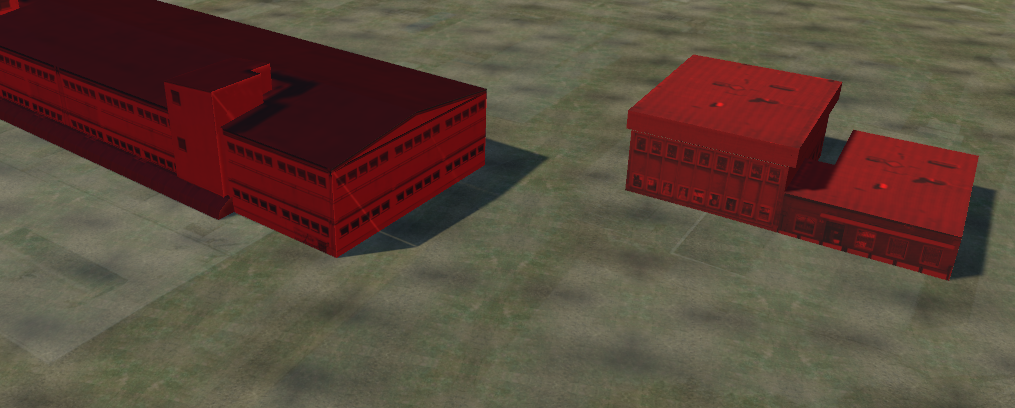
- Multiple Objects (Box Selection): Click and drag LMB to draw a rectangular bounding box across the scene. All objects within the box are selected simultaneously:
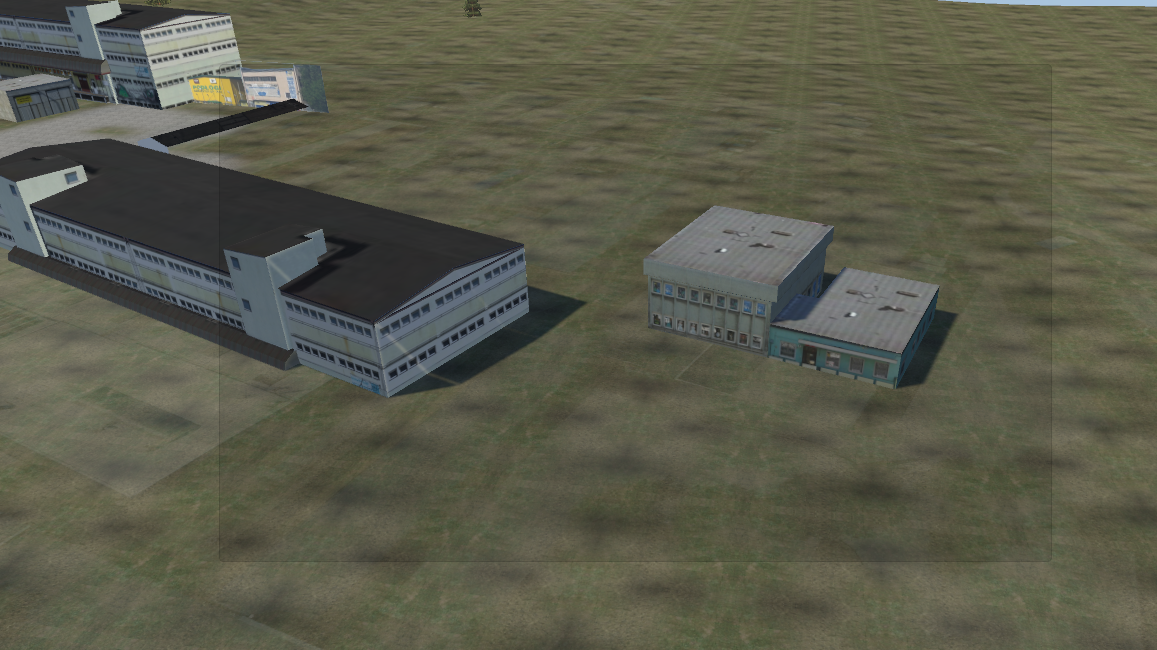
- Extending Selection: Click additional objects while holding Ctrl or Shift to add them to the current group.
B. 3D Viewport Shortcuts and Manipulation
| Shortcut | Function | Description |
|---|---|---|
| N | Add New Object | Places the selected library object into the scene. |
| G | Grab (Move Horizontal) | Translates selected objects across horizontal X/Y planes. Click LMB to confirm, Esc to cancel. |
| Z | Height (Z-Axis) | Adjusts object elevation vertically using mouse dragging. |
| R | Rotate (Yaw) | Rotates the object around the vertical axis. |
| P | Pitch | Adjusts pitch angle (tilt forward / backward). |
| B | Bank | Adjusts roll angle (tilt left / right). |
| H | Half Transparent | Toggles semi-transparency mode for selected objects. |
| Ctrl (hold) | Step Snapping | Snaps translation to 1.0 m intervals and rotation to 15° increments. |
| Del | Delete | Deletes selected objects from the scene. |
| Ctrl + C | Copy | Copies selected objects to the clipboard. |
| Ctrl + V | Paste | Pastes copied objects directly beneath the mouse cursor. |
| Esc | Cancel | Aborts active operation or deselects objects. |
5. Basic Placement and Replacement


- ADD: (key: N) Spawns a new instance of the active library object under the cursor. Tracks the mouse until LMB or Enter is pressed.
- REPLACE: Enables instant model replacement for one or more placed objects. Select objects on the map, choose a new model from the library, and click REPLACE – objects are swapped while preserving their original coordinates, elevation, and rotation angles!
6. Placement Along Spline (Add as spline)
Rapidly places long sequences of repetitive objects (such as guardrails, fences, light poles, or noise barriers) along road or sidewalk paths:

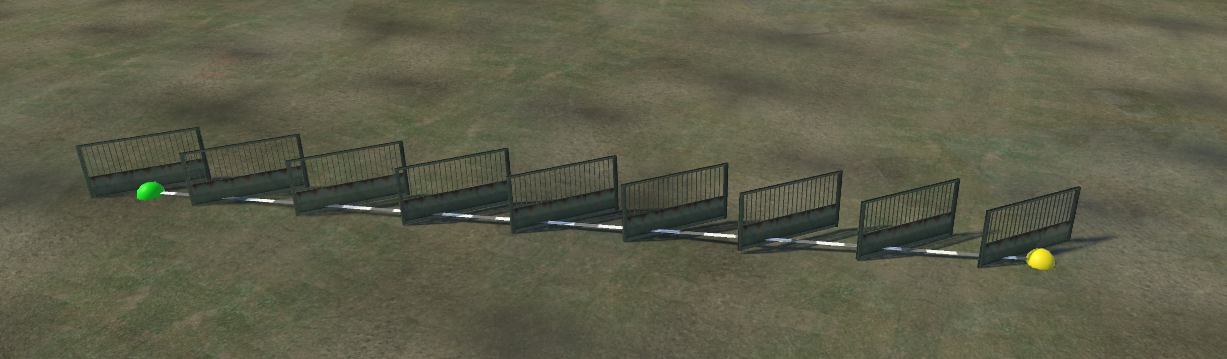
Workflow:
- Select an object in the library or on the map.
- Click ADD AS SPLINE.
- A guide line with a green start node appears in the scene:
- Click LMB on the ground to anchor the starting point.
- Drag the cursor – a yellow end node appears, generating a real-time preview of repeated instances.
- Clicking LMB confirms the segment and immediately begins the next one from the end node (enabling multi-segment fence lines).
- Pressing Enter confirms the final segment and exits the tool; Esc aborts.
In-Flight Shortcuts During Placement:
| Shortcut | Function | Description |
|---|---|---|
+ / = / NumPad + |
Increase Spacing (+0.1 m) | Increases spacing (Distance) between consecutive instances by 10 cm along the line. |
- / - / NumPad - |
Decrease Spacing (-0.1 m) | Decreases spacing (Distance) by 10 cm, condensing placement (minimum: 0.1 m). |
| R | Rotate by 15° | Rotates all placed instances by 15 degrees around their vertical axis (e.g., facing guardrails toward the road). |
| Up / Down | Lateral Offset (±0.1 m) | Shifts instances along the X-axis relative to the line by 10 cm (closer/further from road edge). |
| Left / Right | Longitudinal Offset (±0.1 m) | Shifts instances along the Y-axis relative to the line by 10 cm. |
| Ctrl (hold) | Node Snapping | Automatically snaps nodes to nearby road spline endpoints. |
| LMB | Confirm and Continue | Commits the segment and starts a new one from the current cursor position. |
| Enter / NumPad Enter | Confirm and Finish | Commits the segment and exits placement mode. |
| Esc | Cancel | Cancels the preview and exits without changes. |
7. Attaching to Another Object (Attach to object)
Enables mounting child objects (e.g., sign faces, mileage markers) directly to a parent base object (e.g., posts, masts, gantries):

Technical Requirements:
The parent object must define attachment points in its .sco configuration file:
Example:
Step-by-Step Procedure:
- Select the child object to be mounted (e.g., a sign plate):
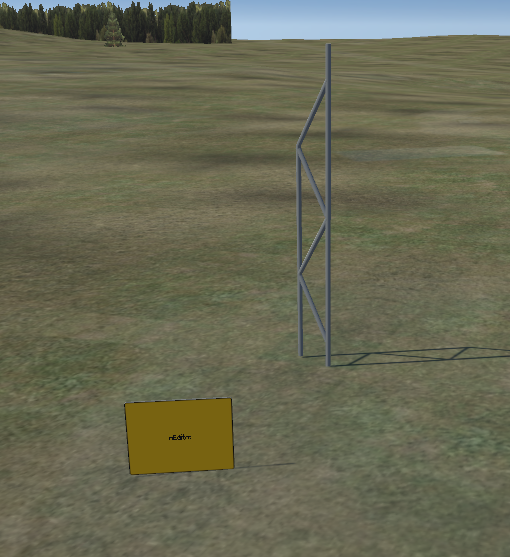
- Click ATTACH TO OBJECT – the object highlights in red, entering target selection mode:
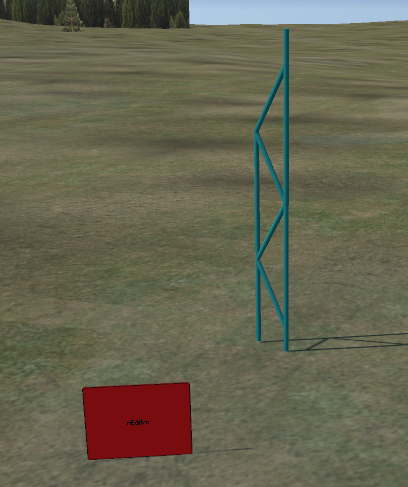
- Click LMB on the parent object (post). The child snaps to default attachment slot
0: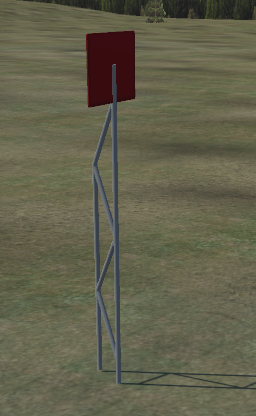
- In the POINT NUMBER field, you can adjust the slot index (e.g., entering
1):
- The child immediately repositions to the new attachment slot on the post:
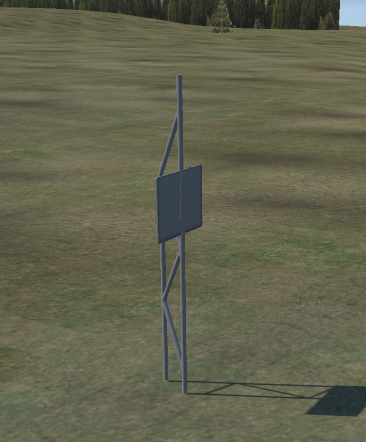
8. Attaching to Splines (Attach to spline)
Binds an object directly to the longitudinal centerline of a road spline ([splineAttachement]):

- Select the object and click ATTACH TO SPLINE.
- Hover over the target spline (highlights in green) and click LMB:
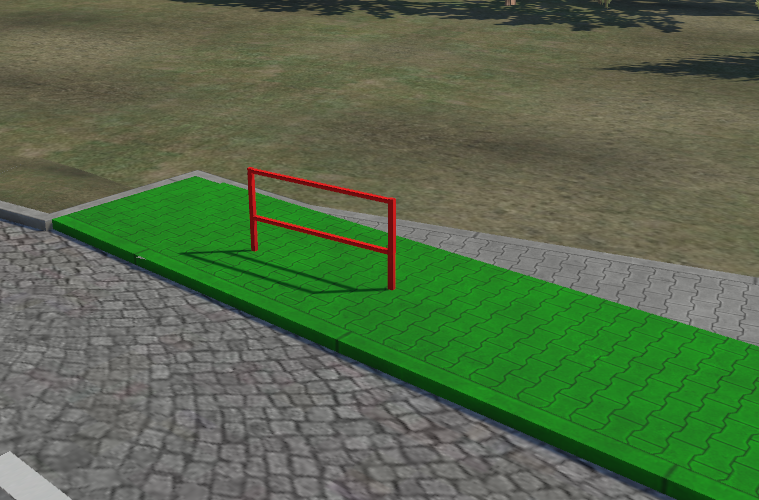
- The object attaches along the spline axis and orients to its tangent:
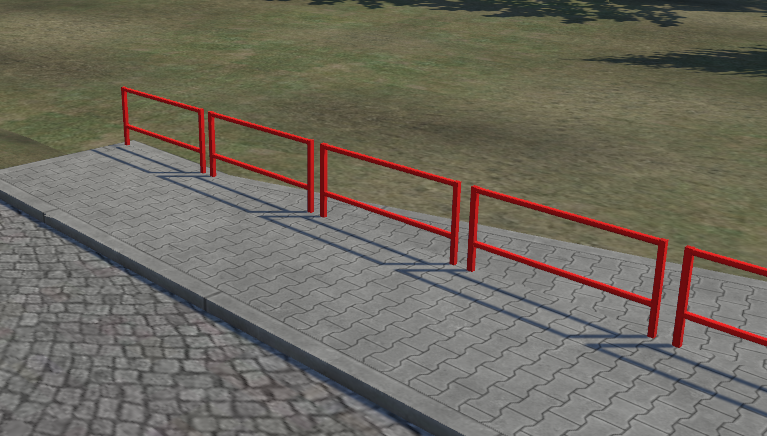
- Adjust binding parameters in the side panel:
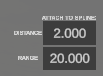
- DISTANCE – interval in meters along the spline for repeating instances.
- RANGE – longitudinal segment length over which instances repeat.
9. Editing Dynamic Labels (Label)
The LABEL tool inputs dynamic text strings on 3D models with defined text textures ([texttexture]):

Text Object Types:
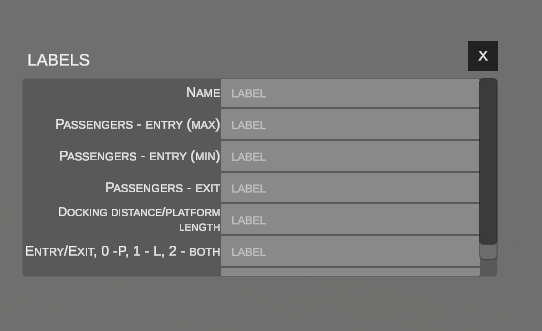
Displays structured parameter inputs for standardized models (e.g., bus stop timetables, destination boards, platforms).
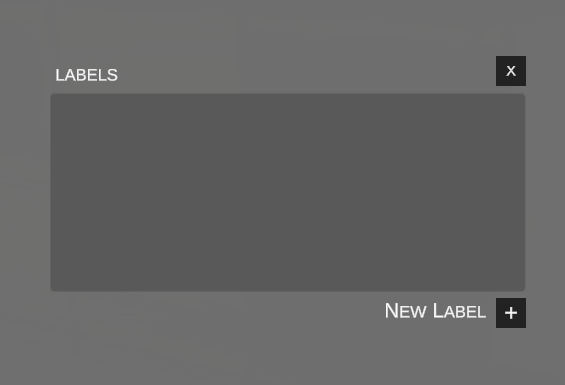
For standard objects (e.g., bus shelters, direction signs, mileposts), click NEW LABEL + to add text lines:
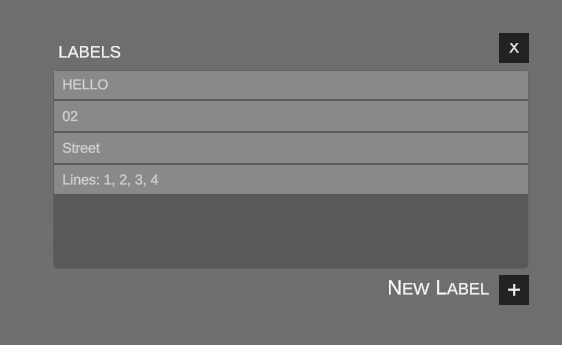 Entered text is rendered onto the 3D model in real time:
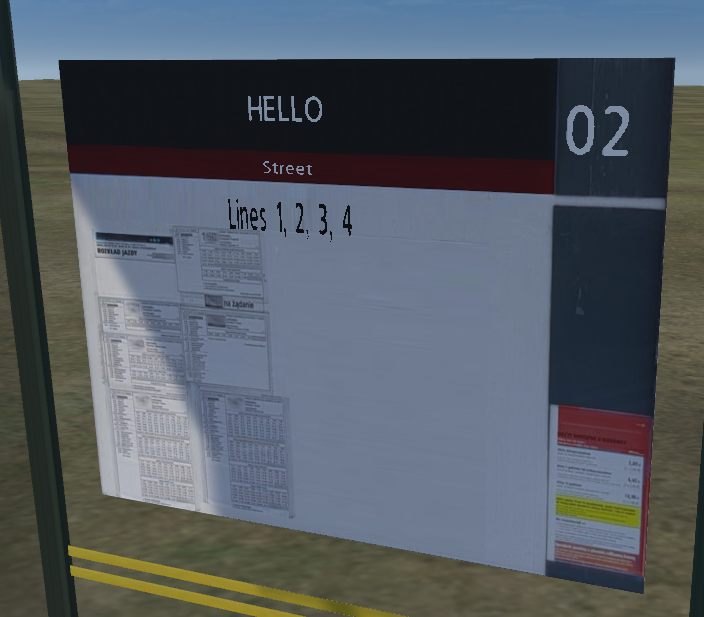
10. Transformation and Relationship Properties
The lower side panel displays transform controls for the selected object:
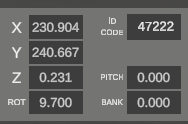
- Coordinates and Rotation:
- X, Y – horizontal coordinates on the tile (meters).
- Z – vertical elevation (meters).
- ROT – rotation around vertical axis (Heading/Yaw in degrees).
- PITCH – longitudinal tilt angle.
- BANK – lateral roll angle.
- ID CODE – unique internal numeric ID in the OMSI map structure.
Snapping Options

- SNAPPING TO OBJECTS: Snaps edges and corners to neighboring objects. The numeric field sets snap tolerance in meters (e.g.,
0.00). - SNAPPING TO TERRAIN: Snaps the base of the object to the terrain elevation beneath it.
Hierarchies and Parent Links

- PARENT TO: ID of parent object (e.g., an intersection crossing controlling this traffic signal).
- ATTACHED TO: ID of base object to which this instance is physically mounted.
Traffic Light Configuration
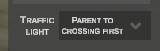 If the object is a traffic signal, a TRAFFIC LIGHT phase selector appears. If not yet linked to an intersection, the editor prompts: "Parent to crossing first".
11. Half Transparent Object
Useful when working with collision boxes, path helpers, or editor-only elements:
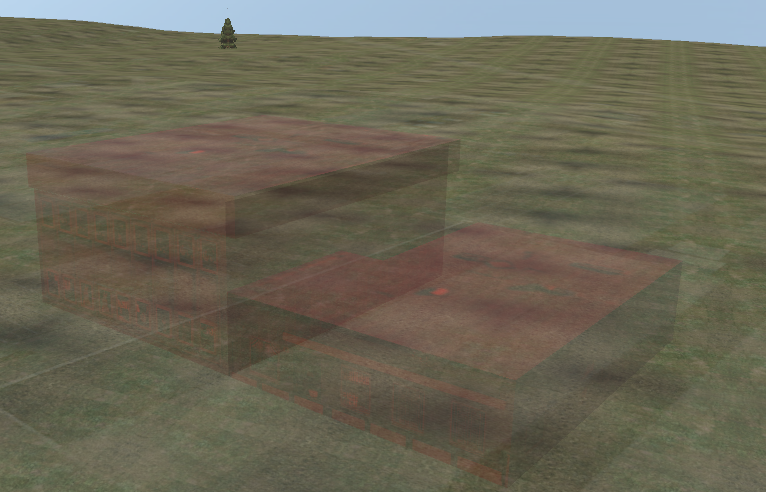
- Checking HALF TRANSPARENT OBJECT (or pressing H) renders the model as semi-transparent.
12. Detailed Property Inspector (Details)
Clicking DETAILS in the side panel:
Opens the full internal inspection window displaying all low-level attributes and metadata:
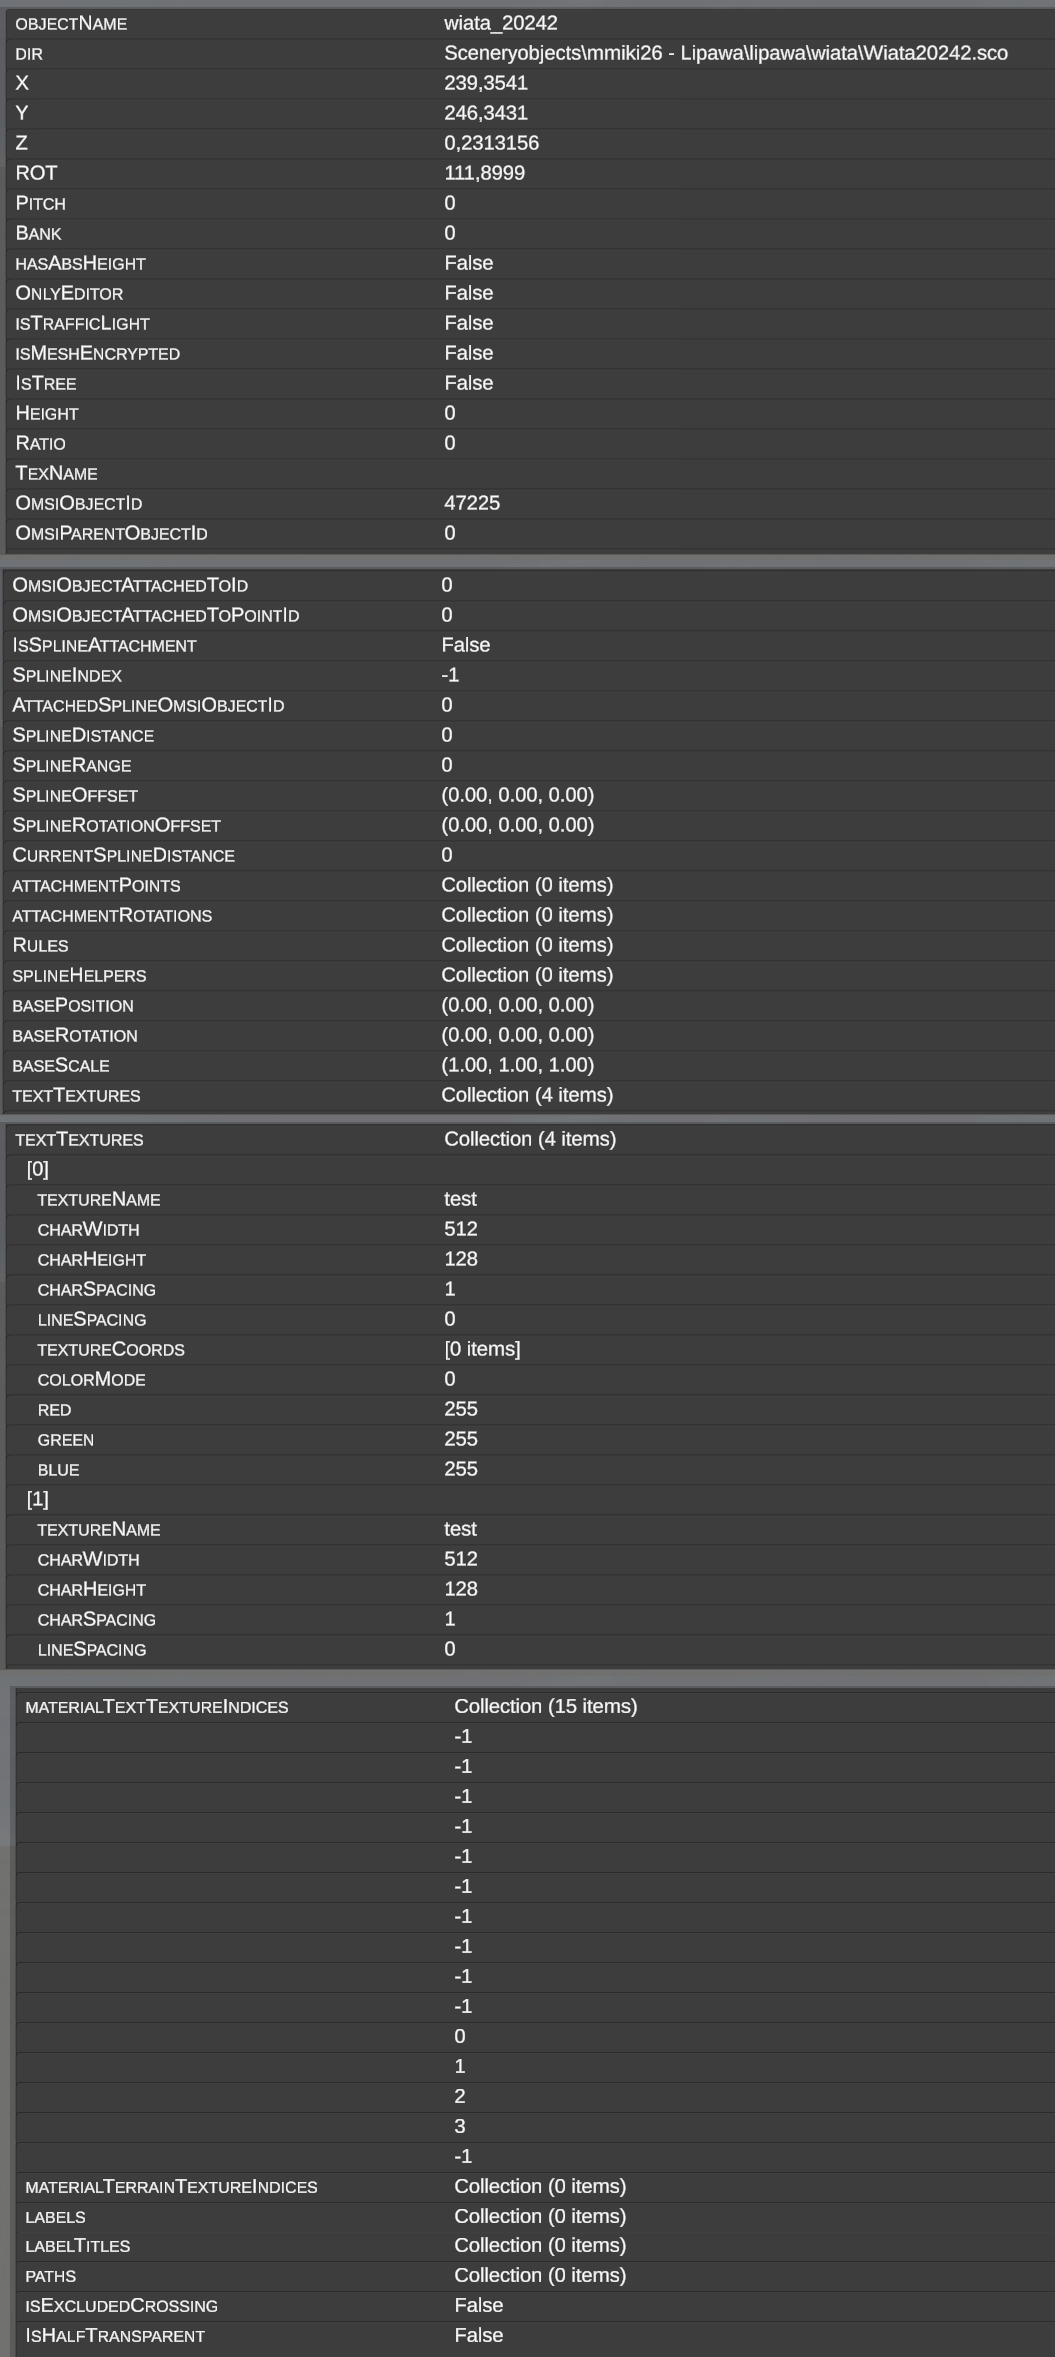
| Field | Format | Detailed Meaning |
|---|---|---|
| OBJECTNAME | Text | Instance name on the scene (e.g., wiata_20242). |
| DIR | Path | Relative path to the .sco file within OMSI (e.g., Sceneryobjects\...\Wiata20242.sco). |
| X, Y, Z | Number (m) | Tile coordinates and elevation. |
| ROT, PITCH, BANK | Number (°) | Heading, pitch, and roll angles. |
| HASABSHEIGHT | Bool | [absheight] flag. If True, maintains fixed world elevation and ignores terrain changes. |
| ONLYEDITOR | Bool | [onlyeditor] flag. Rendered exclusively in editor; hidden in simulator. |
| ISTRAFFICLIGHT | Bool | Identifies traffic signals controlled by intersection phase cycles. |
| ISMESHENCRYPTED | Bool | Indicates whether 3D geometry (.o3d) is encrypted by the creator. |
| ISTREE | Bool | Flags object as foliage for vegetation optimization routines. |
| HEIGHT, RATIO | Number | Parametric scale dimensions. |
| TEXNAME | Text | Active replaceable texture name. |
| OMSIOBJECTID | Number | Persistent unique numeric ID in the OMSI map file. |
| OMSIPARENTOBJECTID | Number | Parent object ID (0 if unparented). |
| OMSIOBJECTATTACHEDTOID | Number | Base object ID to which this element is mounted. |
| OMSIOBJECTATTACHEDTOPOINTID | Number | Attachment point slot index on the base object. |
| ISSPLINEATTACHMENT | Bool | Indicates attachment to a road/track spline. |
| SPLINEINDEX | Number | Tile spline index. |
| ATTACHEDSPLINEOMSIOBJECTID | Number | Persistent spline ID. |
| SPLINEDISTANCE, SPLINERANGE | Number (m) | Interval and repetition range along the spline. |
| SPLINEOFFSET, SPLINEROTATIONOFFSET | Vector | 3D offset and rotation relative to spline axis. |
| CURRENTSPLINEDISTANCE | Number (m) | Exact position along the spline length. |
| ATTACHMENTPOINTS, ATTACHMENTROTATIONS | Collection | Mounting points defined on this object for child attachments. |
| TEXTTEXTURES | Collection | Dynamic text texture layer definitions ([texttexture]). |
| LABELS, LABELTITLES | Collection | User-entered text lines and author field descriptors. |
| PATHS | Collection | Internal AI traffic and pedestrian paths. |
| ISEXCLUDEDCROSSING | Bool | Excludes object from crossing networks. |
| ISHALFTRANSPARENT | Bool | Active semi-transparency state in editor. |